Off-Grid Solar Systems
Communigrow Installation

On Wednesday 1st February 2023, two of our Solar Technicians, Tom and Matt, travelled to East Malling, near Maidstone in Kent to install a solar system at a food education charity called Communigrow.
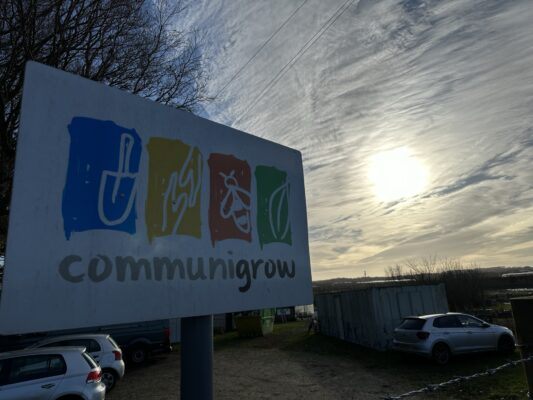
A cold and early start, we arrived at Communigrow’s community garden just as the sun was rising above the trees. Here we met Sheena who is the Operations Manager for the charity. Sheena invited us to explore the grounds which is used for educating and reconnecting people to freshly grown food and the outdoor environment. They offer practical experience to young people and adults, including those facing complex challenges and special needs, of learning how to grow food. Their group of hard-working volunteers making everything possible.
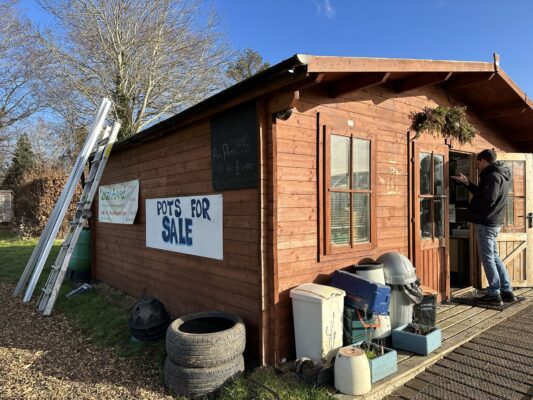
Amongst the midst of all the fruit and vegetable plots Sheena showed us the Communigrow Headquarters, a large summerhouse used for hot drinks, storage, meetings and as an office. Completely off-grid, there is no way of sourcing power from the grid so currently the only way of producing power was to use a noisy and smelly petrol generator. The summerhouse also had a small solar panel which was used to power a few lightbulbs during the winter months when the generator wasn’t in use.

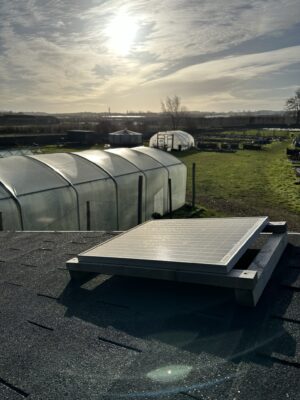
Communigrow had purchased one of our 2900W, 48V, 7.7kWh Professional Off-Grid Solar System. This system came with all the equipment needed to generate approximately 10.0kWh per day in a good UK summers day. Including nine (9x) 325w domestic solar panels, a Victron EasySolar-II inverter-charger, four (4x) Pylon US2000 2.4kWh Li-Ion batteries, and a Victron SmartSolar 150/70 MPPT Charge Controller.
This system was funded entirely through donations and was overseen by Alan Piper, Communigrow’s Trustee. To support this great charity, here at Sunstore we offered our expertise and knowledge completely free of charge to support the set-up and installation.
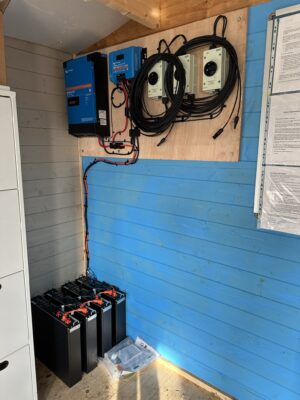
Pre-built by our technician Ian, we began the installation by confirming the location of the solar system board. This is a wooden panel which has been pre-built with all the equipment fitted to make installations easier for both our technicians and electricians across the country. This was then screwed into the wall and trailing cables were neatly fitted in trails to the batteries which were placed upright underneath the board.
As you can see from the image there are three isolator switches which plug directly into the solar panels on the roof. These allow the panels to be disconnected from the system without having to unplug any cables outside if an electrician ever needed to access the system for diagnostics or repairs.
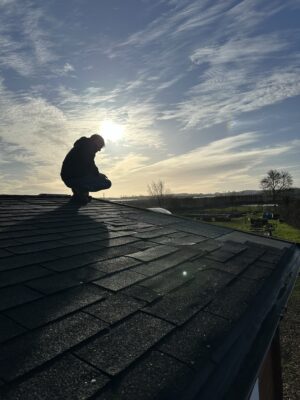
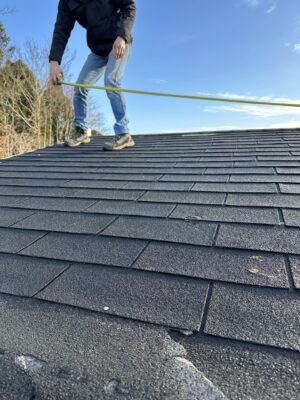
Outside now and on the roof, we began looking at the angle of the summerhouse in relation to the direction of south, the most effective orientation to angle solar panels to generate the most amount of electricity. Then the tape measure came out to measure the length and width of the roof to ensure the solar panels were arranged in the correct positions.
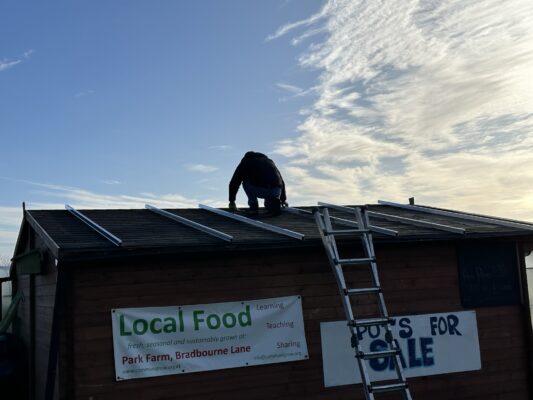
Once the roof was measured, we laid and then fitted the rails to the roof. These rails, along with clamps, hold the solar panels to the roof.
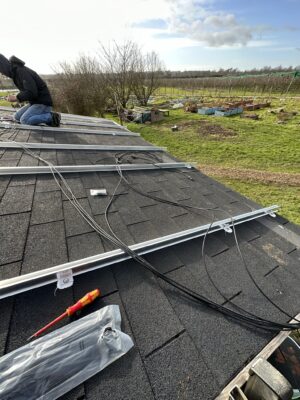
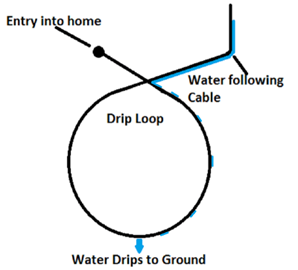
A hole was then drilled through the wall above the pre-built wooden solar system panel installed earlier which is where the solar panel cables were fed through to the outside. These cables were then fixed outside in a drip loop. A drip loop is a slack bit of cable that sits lower than the rest. The loop works with gravity so that any water and condensation follow the cable down the loop and drips to the ground. This prevents any moisture following the cable back inside through the hole to the inside of the summerhouse.
The next stage was to install the solar panels to the roof. This particular system was set up with three strings of three panels, each the equivalent of 340W, so a total of 3.06kW of electricity being generated by the panels overall.
The panels were arranged landscape to fit correctly and neatly on the roof. These were attached by the use of clamps, four (4) per panel. Whilst Tom was on the roof, Matt was inside switching each isolator on and off to ensure each string of panels were correctly ordered. Using the LCD display on the Victron EasySolar-II inverter-charger it was clear that all panels were in working order and providing instant power to the solar system.
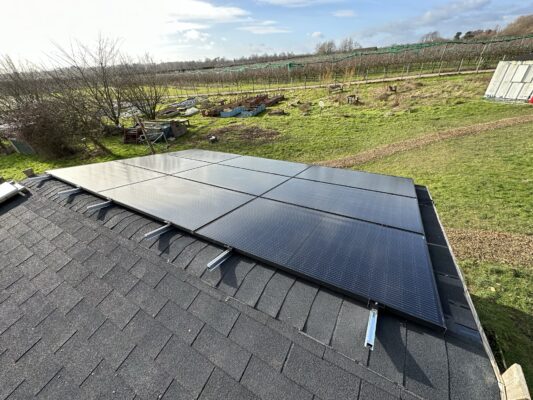
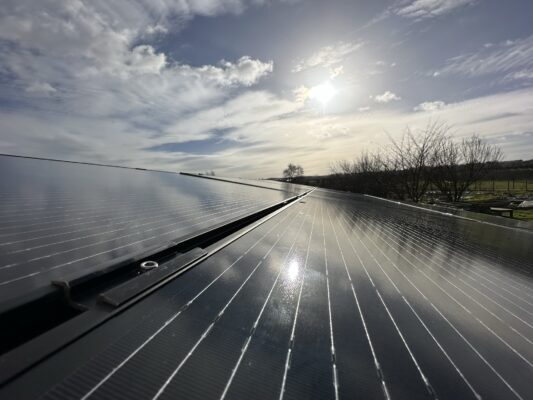
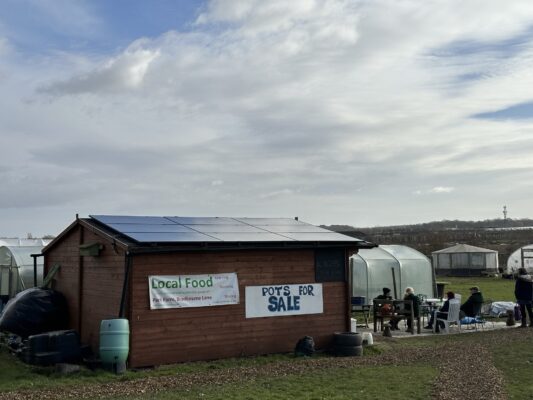
Once all the panels had been installed, we gave them all a quick wipe to ensure there was no dirt on them which would prevent solar generation and went back inside to test the system.
Using the VictronConnect app, which is compatible with all Victron Smart devices and available on iOS and Android, we connected with the Charge Controller and Inverter-Charger separately to ensure everything was working and supplying power to the batteries. One important test we performed was a safety check. A connection issue with the system could cause long-lasting damage to the batteries or become an electrical hazard. By physically disconnecting the connection cables between the batteries and the solar system board it mimics a connection issue. Both Inverter-Charger and Charge Controller switched themselves off when the connection cables were disconnected, indicating they recognised a connection fault and acted correctly.
After a run-through of the solar system, how it works and some safety points, Communigrow’s volunteers were over the moon with their new green energy solution!
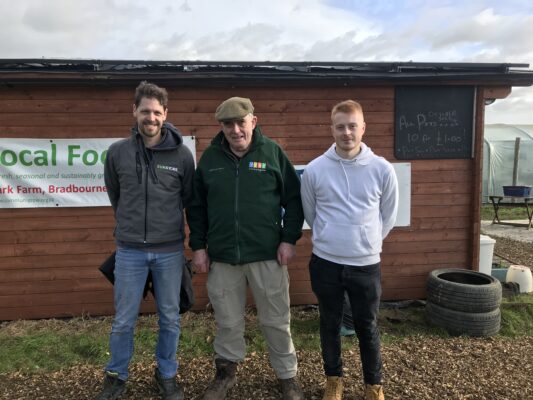
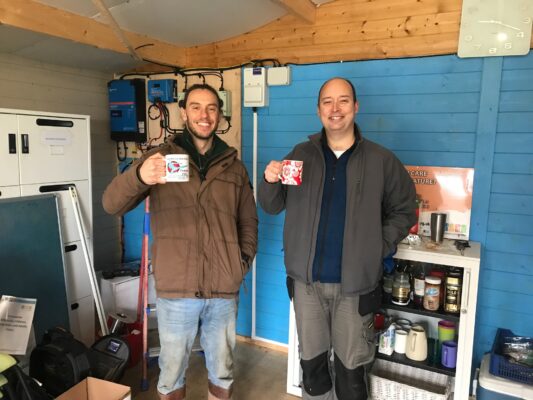
Alan Piper, Communigrow’s Trustee met Tom and Matt after the installation was completed and was incredibly grateful for their hard work and expertise. All the volunteers enjoyed their solar powered cups of coffee and tea afterwards too!
If you are looking for an Off-Grid solution, please contact us at [email protected]